


Photo by Ian Taylor on Unsplash
Creating a Kubernetes Cluster on Hetzner Cloud with Hetzner CCM, Rancher, Traefik and Cloudflare


Introduction
This tutorial will walk you through the process of setting up a Kubernetes cluster on Hetzner Cloud using RKE2. We will create the nodes, install and configure Hetzner's Cloud Controller Manager on the cluster, and enable native load balancing features. Then we'll set up Traefik, Cloudflare, and Rancher.
Step 1 - Deploying Necessary Components on the Hetzner Cloud
The first step is to decide how we will deploy the components. You can utilize Hetzner's CLI Tool. Any IAC Solution, including Terraform and Pulumi, is also an option. Terraform provides a nice solution for Hetzner. I will not go into detail on how to write Terraform Code because it is outside the scope of this tutorial. But I'll give you some straightforward examples. Make sure to create your ssh key. You can find more info about it here.
Creating a Virtual Network
We're going to create a private network. We'll use 10.0.0.0/16 as the network and the subnet. Feel free to change the IP range however you wish.
Hetzner Cli:
hcloud network create --name vnet --ip-range 10.0.0.0/16
hcloud network add-subnet vnet --network-zone eu-central --type server --ip-range 10.0.0.0/16
Terraform:
resource "hcloud_network" "vnet" {
  name     = "vnet"
  ip_range = "10.0.0.0/16"
}
Creating a Placement Group
This is an optional step. Hetzner will ensure that all virtual servers are running on different physical servers if you create a placement group. This reduces the likelihood that certain instances will fail altogether.
Hetzner Cli:
hcloud placement-group create --name spread-group --type spread
Terraform:
resource "hcloud_placement_group" "spread-group" {
  name = "spread-group"
  type = "spread"
}
Creating Virtual Machines
For our virtual machines, we will use Ubuntu 20.04. We'll make three nodes. One will serve as our master node, while the other two will serve as worker nodes. Because we will also be deploying Rancher, I recommend that the master node have at least 8 GB of RAM. Rancher running on the same cluster as our workloads is perfectly fine for small/hobby projects. I don't recommend it for more serious projects or production environments. It is preferable to use the HA approach and dedicate an entire cluster to the Rancher.
Our nodes will be CX31 for the master node and CX21 for the worker nodes. You are welcome to change the size as necessary.
Hetzner Cli:
hcloud server create --datacenter nbg1 --type cx31 --name master --image ubuntu-20.04 --ssh-key <your_ssh_key> --network vnet --placement-group spread-group
hcloud server create --datacenter nbg1 --type cx21 --name worker-1 --image ubuntu-20.04 --ssh-key <your_ssh_key> --network vnet --placement-group spread-group
hcloud server create --datacenter nbg1 --type cx21 --name worker-2 --image ubuntu-20.04 --ssh-key <your_ssh_key> --network vnet --placement-group spread-group
Terraform: I've also included a firewall in the code. In the next step, we'll make one.
resource "hcloud_server" "master" {
  name        = "master"
  image       = "ubuntu-20.04"
  location    = "nbg1"
  ssh_keys  = <your ssh key>
  server_type = "cx31"
  firewall_ids = hcloud_firewall.firewall.id
  placement_group_id = hcloud_placement_group.spread-group.id
  public_net {
    ipv4_enabled = true
    ipv6_enabled = true
  }
  network {
    network_id = hcloud_network.vnet.id
    ip         = 10.0.0.2
  }
}

resource "hcloud_server" "worker-1" {
  name        = "worker-1"
  image       = "ubuntu-20.04"
  location    = "nbg1"
  ssh_keys  = <your ssh key>
  server_type = "cx21"
  firewall_ids = hcloud_firewall.firewall.id
  placement_group_id = hcloud_placement_group.spread-group.id
  public_net {
    ipv4_enabled = true
    ipv6_enabled = true
  }
  network {
    network_id = hcloud_network.vnet.id
    ip         = 10.0.0.3
  }
}

resource "hcloud_server" "worker-2" {
  name        = "worker-2"
  image       = "ubuntu-20.04"
  location    = "nbg1"
  ssh_keys  = <your ssh key>
  server_type = "cx21"
  firewall_ids = hcloud_firewall.firewall.id
  placement_group_id = hcloud_placement_group.spread-group.id
  public_net {
    ipv4_enabled = true
    ipv6_enabled = true
  }
  network {
    network_id = hcloud_network.vnet.id
    ip         = 10.0.0.4
  }
}
Creating the Firewall
Let's create the firewall.
Hetzner Cli:
hcloud firewall create --name firewall-kubernetes
and deploy some inbound rules:
hcloud firewall add-rule firewall --description "Allow Inbound SSH" --direction in --port 22 --protocol tcp --source-ips 0.0.0.0/0 --source-ips ::/0
hcloud firewall add-rule firewall --description "Allow Inbound ICMP " --direction in --protocol icmp --source-ips 0.0.0.0/0 --source-ips ::/0
and outbound rules as well:
hcloud firewall add-rule firewall --description "Allow DNS TCP Outbound" --direction out --port 53 --protocol tcp --destination-ips 0.0.0.0/0 --destination-ips ::/0
hcloud firewall add-rule firewall --description "Allow DNS UDP Outbound" --direction out --port 53 --protocol udp --destination-ips 0.0.0.0/0 --destination-ips ::/0
hcloud firewall add-rule firewall --description "Allow ICMP Outbound" --direction out --protocol icmp --destination-ips 0.0.0.0/0 --destination-ips ::/0
hcloud firewall add-rule firewall --description "Allow NTP UDP Outbound" --direction out --port 123 --protocol udp --destination-ips 0.0.0.0/0 --destination-ips ::/0
hcloud firewall add-rule firewall --description "Allow HTTP Outbound" --direction out --port 80 --protocol tcp --destination-ips 0.0.0.0/0 --destination-ips ::/0
hcloud firewall add-rule firewall --description "Allow HTTPS Outbound" --direction out --port 443 --protocol tcp --destination-ips 0.0.0.0/0 --destination-ips ::/0
don't forget to apply them:
hcloud firewall apply-to-resource firewall --type server --server master
hcloud firewall apply-to-resource firewall --type server --server worker-1
hcloud firewall apply-to-resource firewall --type server --server worker-2
Terraform:
resource "hcloud_firewall" "firewall" {
  name = "firewall"
  ## Inbound rules
  rule {
    direction = "in"
    protocol  = "icmp"
    source_ips = [
      "0.0.0.0/0",
      "::/0"
    ]
  }

  rule {
    direction = "in"
    protocol  = "tcp"
    port      = "22"
    source_ips = [
      "0.0.0.0/0",
      "::/0"
    ]
  }

  ## Outbound rules
  rule {
    direction = "out"
    protocol  = "tcp"
    port      = "53"
    source_ips = [
      "0.0.0.0/0",
      "::/0"
    ]
  }

  rule {
    direction = "out"
    protocol  = "udp"
    port      = "53"
    source_ips = [
      "0.0.0.0/0",
      "::/0"
    ]
  }

  rule {
    direction = "out"
    protocol  = "udp"
    port      = "123"
    source_ips = [
      "0.0.0.0/0",
      "::/0"
    ]
  }

  rule {
    direction = "out"
    protocol  = "tcp"
    port      = "80"
    source_ips = [
      "0.0.0.0/0",
      "::/0"
    ]
  }

  rule {
    direction = "out"
    protocol  = "udp"
    port      = "443"
    source_ips = [
      "0.0.0.0/0",
      "::/0"
    ]
  }

  rule {
    direction = "out"
    protocol  = "icmp"
    source_ips = [
      "0.0.0.0/0",
      "::/0"
    ]
  }

}
Step 2 - Installing RKE2
The nodes have been deployed. It's time to install RKE2 now that they're up and running.
Creating the Master Node
SSH into the master node and perform an update:
sudo apt update && sudo apt upgrade -y
Remember to harden the nodes. Disable root access and password authentication for ssh. A guide to it will be available later on the blog.
Get the RKE2-Server:
curl -sfL https://get.rke2.io | sh -
To customize the installation, we must first create a config file. Create the directory first:
mkdir -p /etc/rancher/rke2
then define the config file:
vim /etc/rancher/rke2/config.yaml
config.yaml:
write-kubeconfig-mode: "0644"
node-name: "master"
node-ip: 10.0.0.2
cloud-provider-name: external
cluster-cidr: 10.244.0.0/16
kube-proxy-arg: "metrics-bind-address=0.0.0.0"
disable:
  - cloud-controller
  - rke2-ingress-nginx
  - rke2-canal
tls-san:
  - 10.0.0.2
  - master
cni: cilium
write-kubeconfig-mode: We have set the CHMOD to 644, so that the owner can read/write the file while group/others can read it.
node-name:Set the node name.
node-ip: This step is IMPORTANT. If we install the RKE2 Cluster without specifying the private node IP, we will receive the following error message after installing the Hetzner Cloud Controller Manager: ""x509: certificate is valid for 127.0.0.1, not x.x.x.x"." The problem is that after installing CCM, the internal node IP is not included in the Kubelet certificate SAN and is therefore unaffected by the tls-san, resulting in the metrics server failing the TLS handshake. The solution is to define the node-ip in the configuration. More information about this issue can be found here and here.
cloud-provider-name: We have set this option to external in order to use the CCM. Take care! This option also might appear in some documents as cloud-provider=external. This is incorrect, as it does not disable the integrated cloud controller. It will occupy port 10258 and it will not be deployed. The error message you might see is something like this: failed to create listener: failed to listen on 0.0.0.0:10258: listen tcp 0.0.0.0:10258: bind: address already in use. You can check the port via:
netstat -tulpen | grep 10258and see which CCM is deployed.cluster-cidr: we have set our cluster CIDR.
kube-proxy-arg: "metrics-bind-address=0.0.0.0" we have exposed the metrics server. This is not an issue because we have firewall rules in place. If you don't want it, feel free to exclude it.
disable: We have disabled the cloud-controller since we will be using the Hetzner CCM. We've also disabled the default ingress-nginx and canal cni because we'll be using Traefik for ingress and Cillium for CNI.
tls-san: we have set our additional subject names to the TLS certificate.
Afterwards enable and start the RKE2 service:
systemctl enable rke2-server.service
systemctl start rke2-server.service
You can check the logs using journalctl -fu rke2-server command.
Get the kube config file:
mkdir -p $HOME/.kube
sudo cp -i /etc/rancher/rke2/rke2.yaml $HOME/.kube/config
Adding Worker Nodes
Get the node token from master:
cat /var/lib/rancher/rke2/server/node-token
Get the RKE2-Agent:
curl -sfL https://get.rke2.io | INSTALL_RKE2_TYPE="agent" sh -
Again, in order to customize the installation we need to create a config file. First create the following directory:
mkdir -p /etc/rancher/rke2
then define the config file:
vim /etc/rancher/rke2/config.yaml
config.yaml:
server: https://10.0.0.2:9345
token: K…….
node-ip: 10.0.0.3
kube-apiserver-arg:
  - kubelet-preferred-address-types=InternalIP
server: master node private IP. In our case 10.0.0.2:9345
token: we got our token from the master node.
node-ip: Important! Similar to the previous issue, if we do not manually set the Private IP, worker nodes will be added to the cluster and appear ready, but you will encounter a variety of problems. The issue is that if the private IP address is not set, the master node and worker nodes will be unable to communicate properly. This is because worker nodes are automatically set to the incorrect internal IP (sets external ip as internal ip). You can see more info about the subject here.
Enable and start the RKE2-Agent:
systemctl enable rke2-agent.service
systemctl start rke2-agent.service
You can check the agent logs using journalctl -fu rke2-agent command.
Step 3 - Installing Hetzner Cloud Controller Manager
Create an API token. You can find how to do that in this document.
Afterwards create a secret:
kubectl -n kube-system create secret generic hcloud --from-literal=token=<your hetzner api token> --from-literal=network=vnet
then install Hetzner CCM with networks:
kubectl apply -f https://github.com/hetznercloud/hcloud-cloud-controller-manager/releases/latest/download/ccm-networks.yaml
Beware! When we were installing RKE2 on the nodes we have set --cloud-provider=external in /etc/rancher/rke2/config.yaml. Doing so will taint all nodes in the cluster with node.cloudprovider.kubernetes.io/uninitialized. When we install the Hetzer CCM, it will automatically untaint those nodes. This means that most of the pods will be left unschedulable until the CCM is deployed.
Finally check the nodes using kubectl get nodes and kubectl get pods -A .
Note: If you're using a single node cluster and one of the Cilium Operator pods is in a pending state, don't worry; it's just a cosmetic issue. Because you only have one node, the master, the pod is in a pending state. It will be ready if you deploy more nodes.
Step 4 - Deploying Traefik
We will deploy Traefik v2 with Helm.
First create a values.yaml for Traefik:
globalArguments:
  - "--global.sendanonymoususage=false"

additionalArguments:
  - "--serversTransport.insecureSkipVerify=true"
  - "--log.level=INFO"

deployment:
  enabled: true
  replicas: 3
  annotations: {}
  podAnnotations: {}
  additionalContainers: []
  initContainers: []

ports:
  web:
    redirectTo: websecure
  websecure:
    tls:
      enabled: true

ingressRoute:
  dashboard:
    enabled: false

providers:
  kubernetesCRD:
    enabled: true
    ingressClass: traefik-external
  kubernetesIngress:
    enabled: true
    publishedService:
      enabled: false

rbac:
  enabled: true

service:
  enabled: true
  type: LoadBalancer
  annotations:
    load-balancer.hetzner.cloud/hostname: k8slb
    load-balancer.hetzner.cloud/http-redirect-https: "false"
    load-balancer.hetzner.cloud/location: nbg1
    load-balancer.hetzner.cloud/name: k8slb
    load-balancer.hetzner.cloud/use-private-ip: "true"
    load-balancer.hetzner.cloud/network-zone: eu-central
  labels: {}
  spec: {}
  loadBalancerSourceRanges: []
  externalIPs: []
I have set - "--serversTransport.insecureSkipVerify=true" because some of my applications need it. You do not have to set it yourself.
We have configured Traefik's service as LoadBalancer and defined our LoadBalancer settings using Hetzner Cloud Controller Manager's annotations.
load-balancer.hetzner.cloud/hostname: Hostname of our LoadBalancer.
load-balancer.hetzner.cloud/http-redirect-https: I have set it to false. You can set it to true if you want to redirect HTTP to HTTPS.
load-balancer.hetzner.cloud/location: This will be the location of our LoadBalancer. It should be the same location as your VMs.
load-balancer.hetzner.cloud/name: Name of our LoadBalancer.
load-balancer.hetzner.cloud/use-private-ip: We have set it to true, otherwise LB will use the public IP address.
load-balancer.hetzner.cloud/network-zone: Location of our Virtual Network.
Install Traefik:
helm install traefik traefik/traefik -f traefik-values.yaml --namespace=traefik --create-namespace
Check if the LoadBalancer has been created:
kubectl get svc -n traefik
It should look like this:

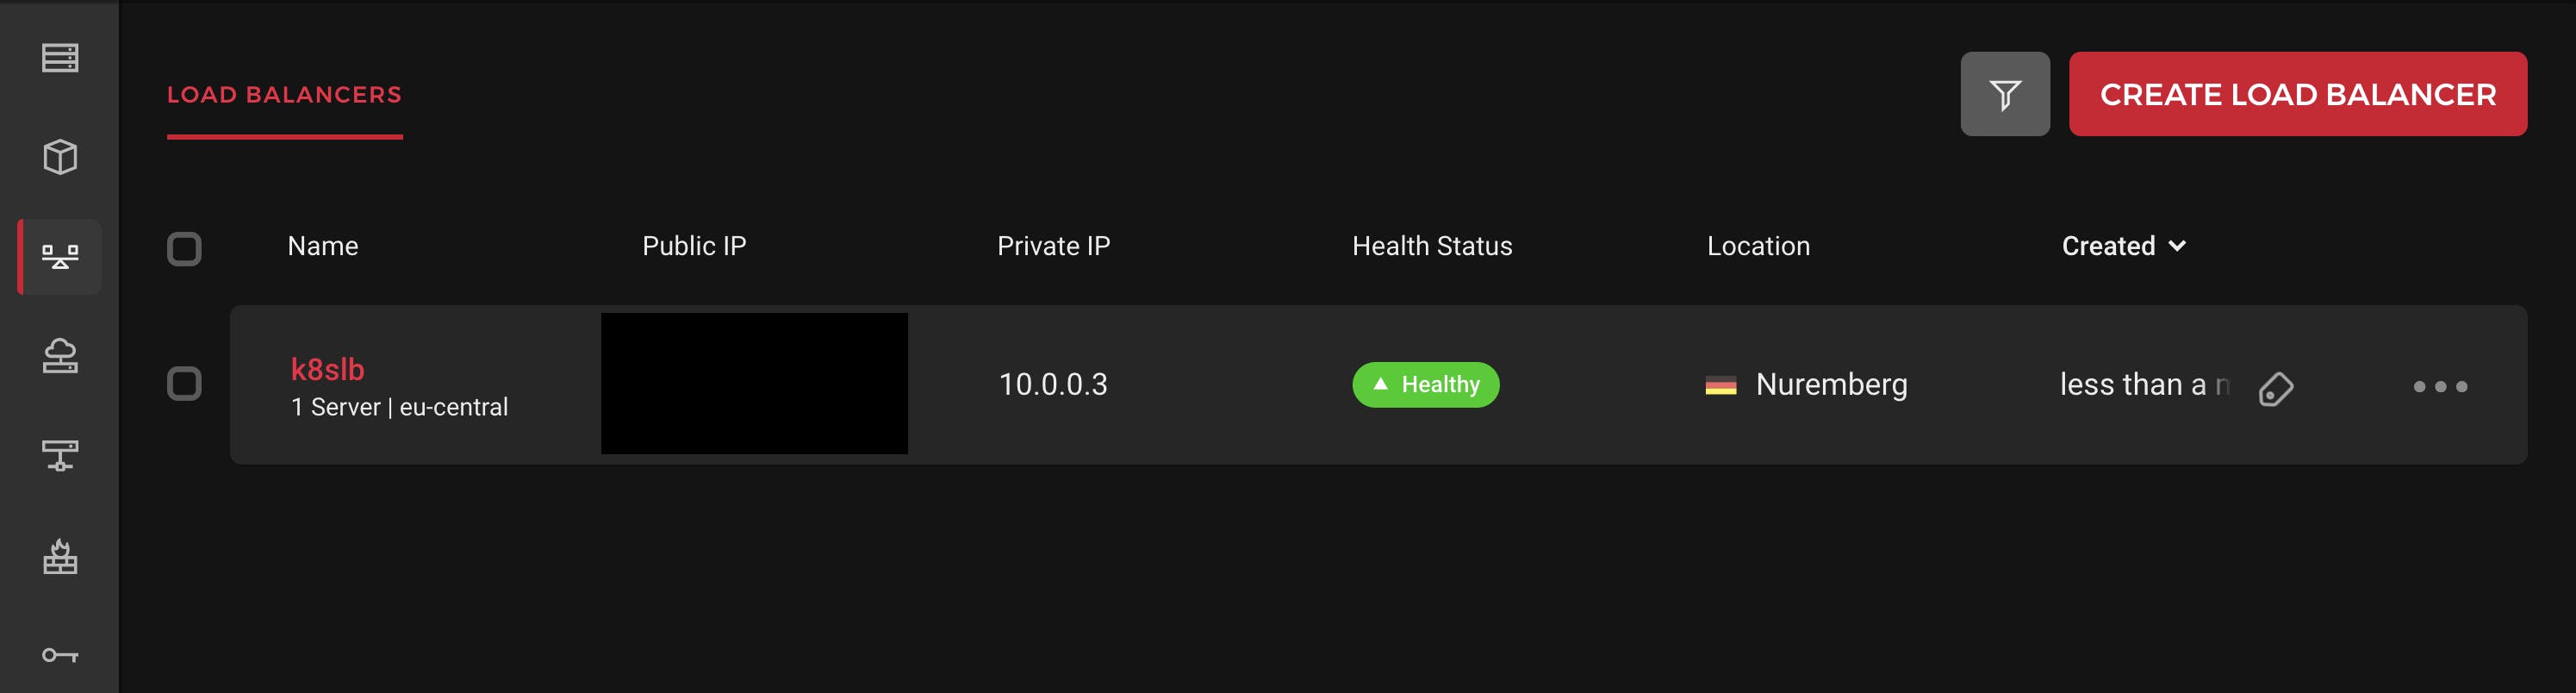
In the Hetzner Cloud Console, you should see a load balancer being created:
Step 5 - Configuring TLS/SSL
Now, we have two options here:
We can use the traditional way and deploy Cert-Manager and Let's Encrypt, using the DNS-01 challenge and Cloudflare provider. The cloudflare provider can be used to solve DNS challenges.
Alternatively, we can use Cloudflare proxied. Cloudflare functions as a reverse proxy for web traffic. Cloudflare will handle all requests to and from the origin. The advantage of this method is that when traffic is proxied through Cloudflare before reaching the origin server, the application gains additional security, performance, and reliability. Another advantage is that we don't need to install Cert-Manager. Cloudflare will handle this for us automatically.
My personal recommendation is to use Cloudflare proxied. But in this guide I will show you both ways as your needs might differ from mine.
Please choose one of the two options:
Option 1) Using Cloudflare proxied mode
- If you want to use Cloudflare proxied mode, you can refer to the guide I have written: Configuring Traefik Ingress and Clouflare in Kubernetes using Full (Strict) Encryption Mode
Option 2) The traditional way with Cert Manager
- If you do not want to use proxy mode and deploy Cert-Manager and Let's Encrypt you can use this guide: Configure Cert Manager and Let's Encrypt in a Kubernetes Cluster with Traefik and Cloudflare
Step 6 - Installing Rancher
We will deploy Rancher using Helm.
Add the Helm Repo:
helm repo add rancher-stable https://releases.rancher.com/server-charts/stable
Option 1) Deploy Rancher with using Cloudflare proxied mode with the generated TLS Secret:
If you have followed the guide: Configuring Traefik Ingress and Clouflare in Kubernetes using Full (Strict) Encryption Mode, then you have generated a TLS secret, in our case we will use it later with our IngressRoute.
First create your values.yaml:
ingress:
  enabled: false
  tls:
    source: Secret
since we are going to use the TLS Certificate from Cloudflare, we have set the TLS source as secret.
then install Rancher:
helm install rancher rancher-stable/rancher --namespace cattle-system -f rancher-values.yaml --create-namespace
Create the Ingressroute:
apiVersion: traefik.containo.us/v1alpha1
kind: IngressRoute
metadata:
  name: rancher
  namespace: cattle-system
  annotations:
    kubernetes.io/ingress.class: traefik-external
spec:
  entryPoints:
    - websecure
    - web
  routes:
    - match: Host(`www.rancher.yourdomain.com`)
      kind: Rule
      services:
        - name: rancher
          port: 80
    - match: Host(`rancher.yourdomain.com`)
      kind: Rule
      services:
        - name: rancher
          port: 80
  tls:
    store:
      name: default-cloudflare-tls
Get the admin password:
kubectl get secret --namespace cattle-system bootstrap-secret -o go-template='{{.data.bootstrapPassword|base64decode}}{{"\n"}}'
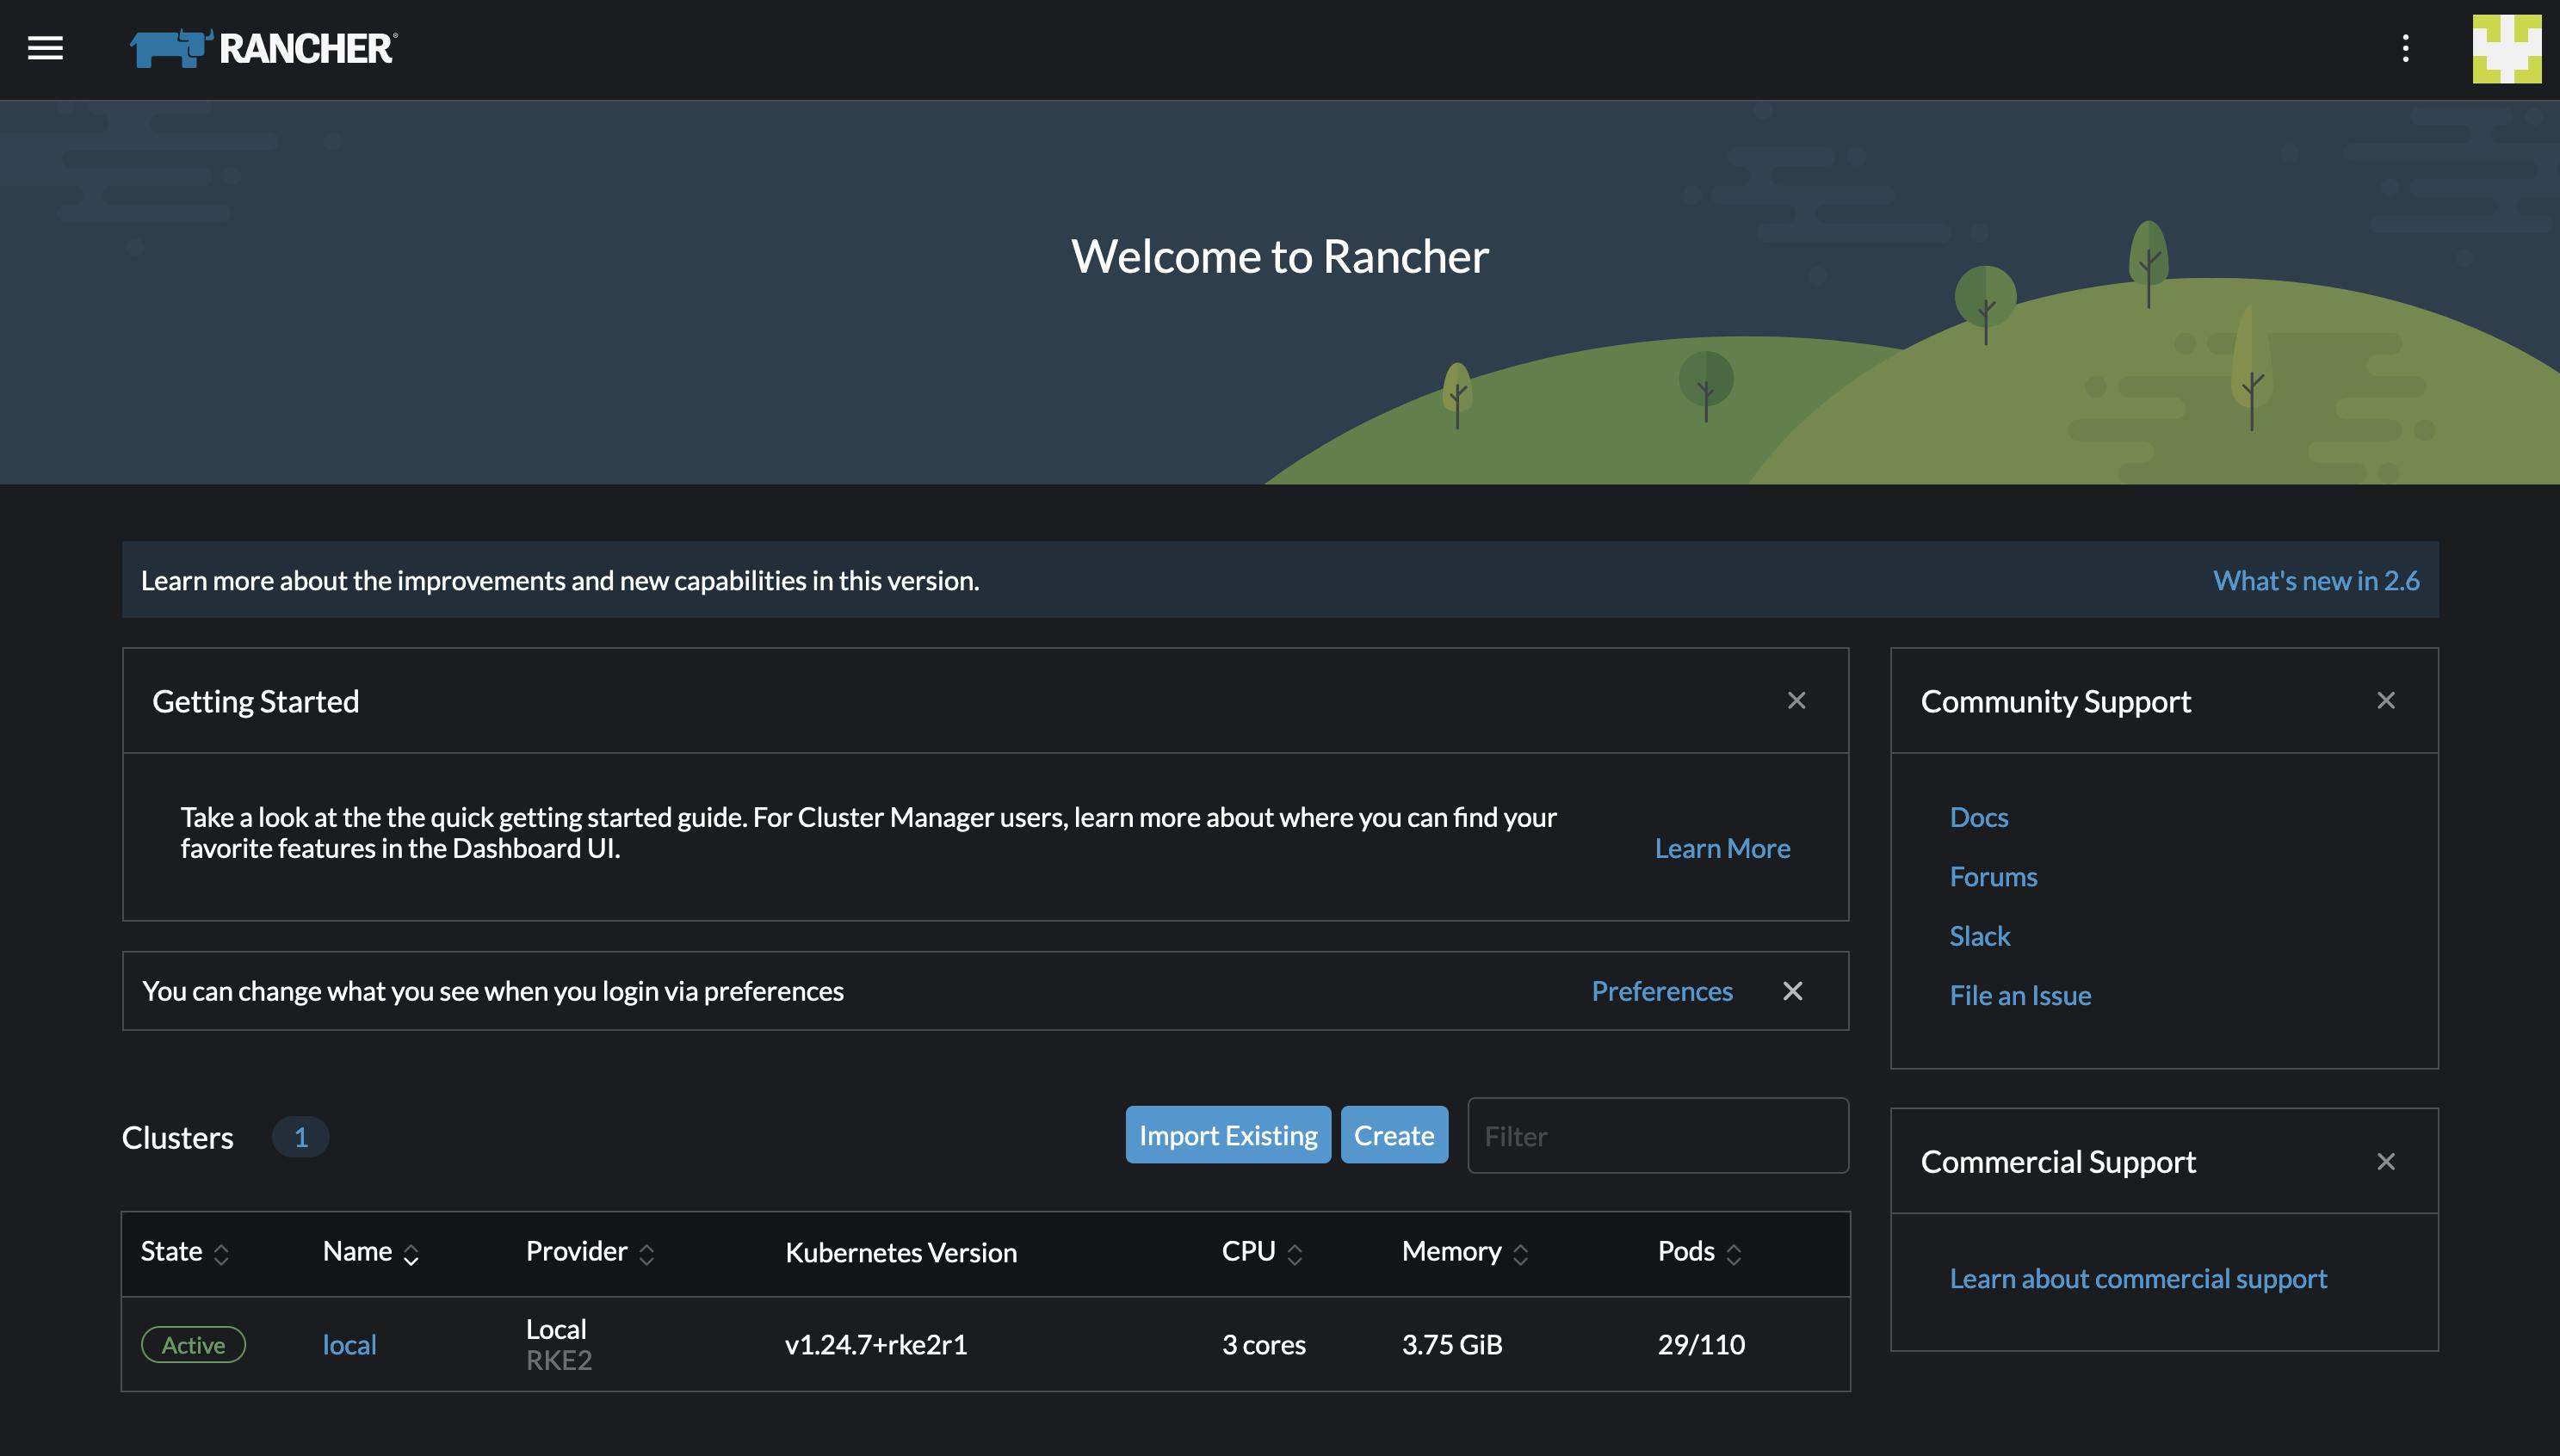
If everything went correctly, you should see something like this:
Option 2) Deploy Rancher with CertManager and Let's Encrypt
If you have used the Configure Cert Manager and Let's Encrypt in a Kubernetes Cluster with Traefik and Cloudflare guide, this option is for you.
Again, create your values.yaml:
ingress:
  enabled: false
  tls:
    source: letsEncrypt
we will use Let's Encrypt as our TLS source.
then install Rancher:
helm install rancher rancher-stable/rancher --namespace cattle-system -f rancher-values.yaml --create-namespace
Create the Ingressroute:
apiVersion: traefik.containo.us/v1alpha1
kind: IngressRoute
metadata:
  name: rancher
  namespace: cattle-system
  annotations:
    kubernetes.io/ingress.class: traefik-external
spec:
  entryPoints:
    - websecure
    - web
  routes:
    - match: Host(`www.rancher.yourdomain.com`)
      kind: Rule
      services:
        - name: rancher
          port: 80
    - match: Host(`rancher.yourdomain.com`)
      kind: Rule
      services:
        - name: rancher
          port: 80
  tls:
    secretName: rancher-tls
Get the admin password:
kubectl get secret --namespace cattle-system bootstrap-secret -o go-template='{{.data.bootstrapPassword|base64decode}}{{"\n"}}'